


Updating the Vehicle Connection Interface (VCI) Device
NOTES -
- Some Diagnostics app features require the VCI device to be updated to the latest version in order to function properly.
- The current version of the VCI Software is 22.1.2418.1
- The current version of the VCI Firmware is 49
- See What's New in the latest release
- Under certain network conditions, connecting the VCI to your computer could cause your Internet connection to temporarily disconnect. To return your Internet connection to normal, make sure to unplug the VCI device from your computer after completing the update process.
Installing the update wirelessly from the ALLDATA app
- Connect to your VCI.
- Check for an update:
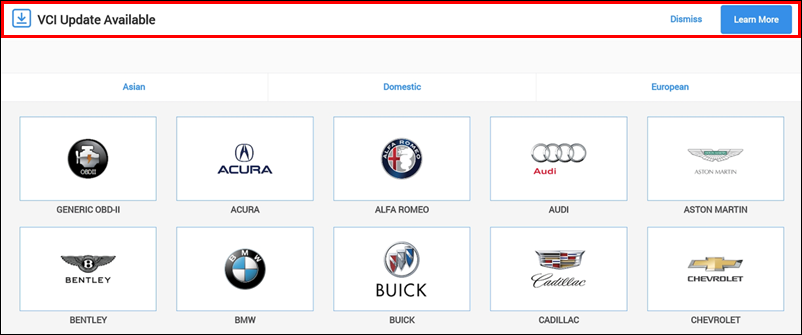
The ALLDATA app will automatically check for an update each time the VCI is connected and will display a popup notification if an update is available.
- If the banner had been previously dismissed, you can locate the current version and check for update status from the Settings menu.
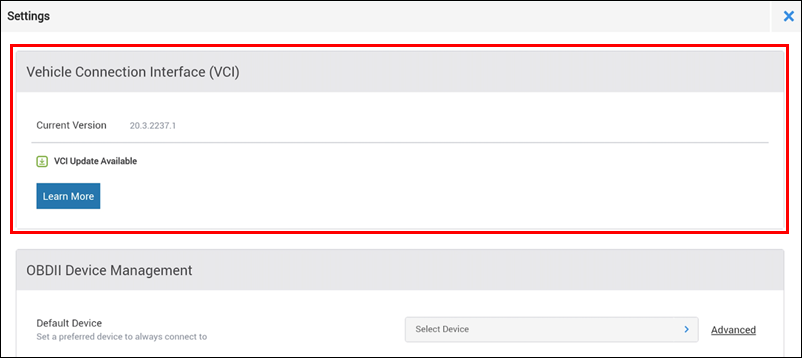
- Select the Learn More button on either of the update notifications shown in the previous step.
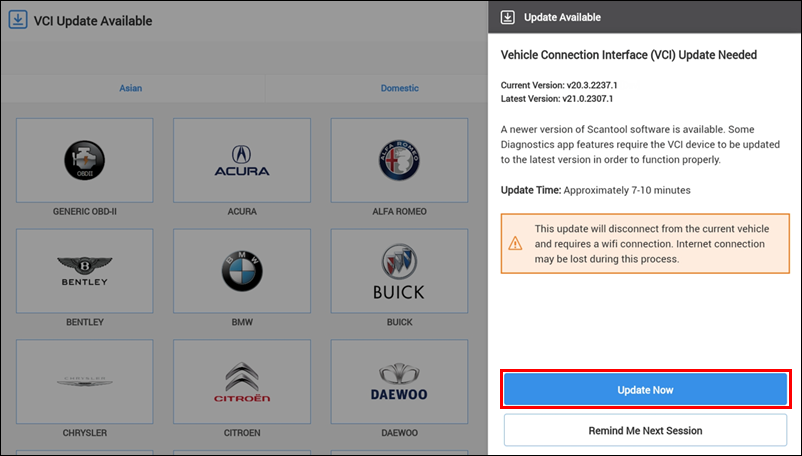
- Select Update Now from the Update Available flyout.
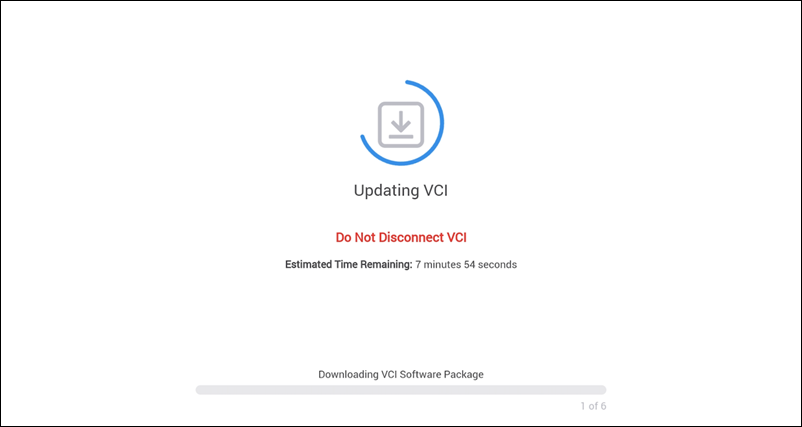
- Complete the update process:
- The latest version of the VCI software will be downloaded.
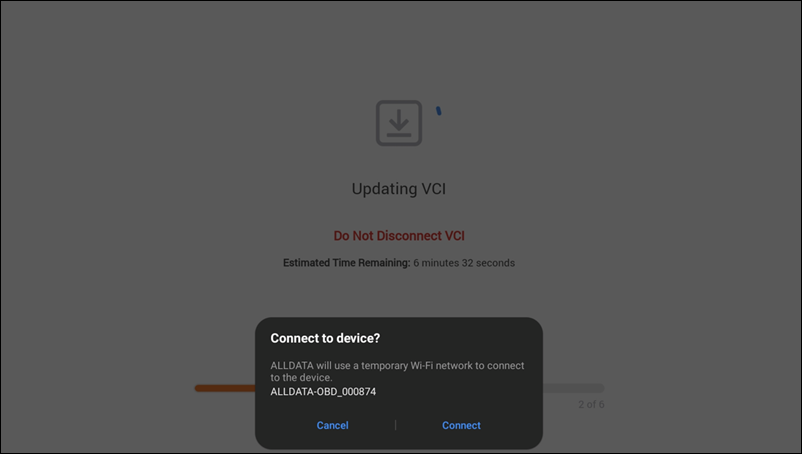
Temporarily connect the VCI to your device's Wi-Fi network.
- Note: During this process, the app will lose its existing Wi-Fi connection and will not be able to connect to the internet.
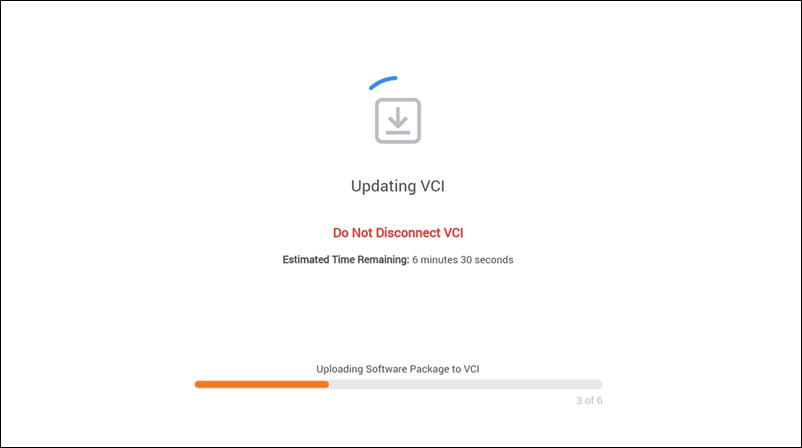
- The update files will be uploaded to the VCI.
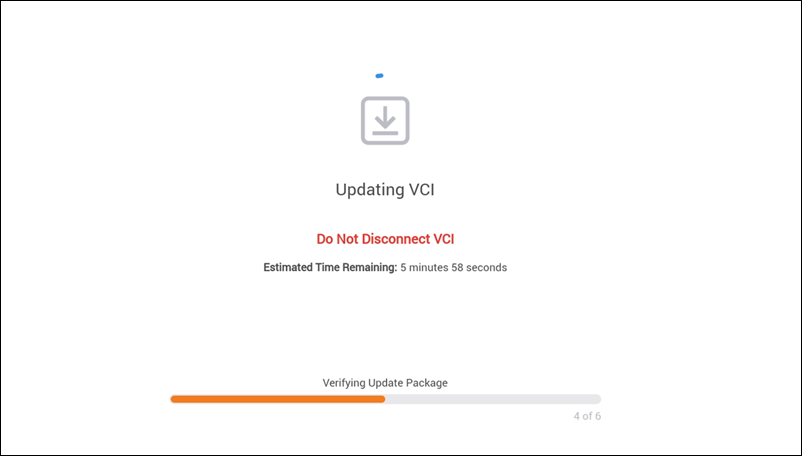
- The integrity of the update files will be verified.
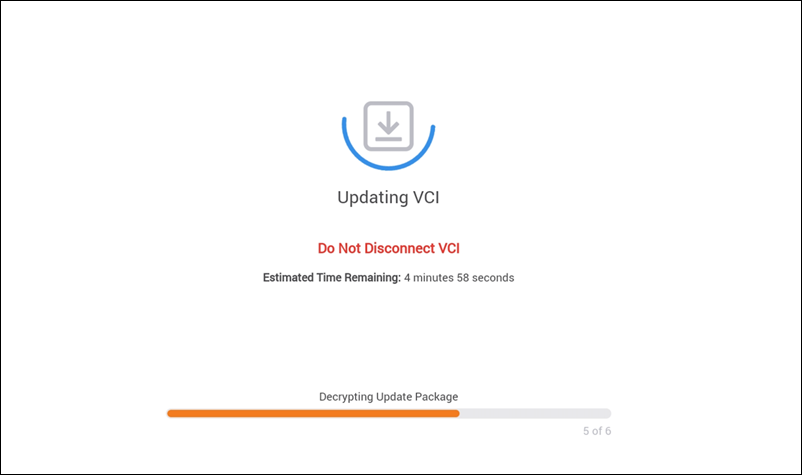
- The update files will be decrypted.
- The VCI will perform the application update process.
- The latest version of the VCI software will be downloaded.
- When the Update Complete notification appears, unplug the VCI from power. Wait 5 seconds before plugging the VCI back in.

Installing the update with a USB cable from a Windows PC
Before Getting Started
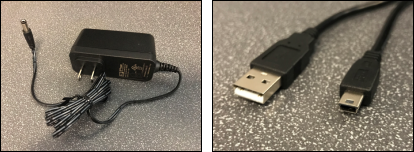
Locate the power adapter and Mini-USB data cable that was included in the original device packaging.
Installing the Device Driver (First time updating or using a new computer)
On a computer running Microsoft Windows, download and run the VCI Device Driver (alldata-vci-driver).
- A black box may briefly appear on the screen as the file installs.
- Not sure how to run a downloaded file? Click HERE.
Installing the Update
- Download and save the most recent VCI Updater application to your computer.
- Internet Explorer tip: Before the download starts, you will be asked what you want to do with the file. Select Save As to save the file to an easy to remember location like the Desktop or Downloads folder.

- Internet Explorer tip: Before the download starts, you will be asked what you want to do with the file. Select Save As to save the file to an easy to remember location like the Desktop or Downloads folder.
- Use the Windows File Explorer to navigate to the location of the saved VCI Updater.
- Note: This is typically in your Downloads folder. However, this location could vary based on your browser settings.
- Google Chrome tip: The download will display at the bottom of the page, click the arrow and select show in folder to go directly to the file location.

- Right click the file and select Extract All...

- Enter alldata in the password box.

- Click OK.
- Locate and run the unzipped ALLDATAUpdater application.
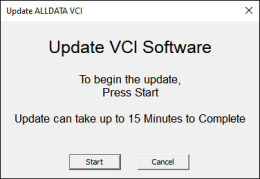
- Click Start and follow the on screen prompts
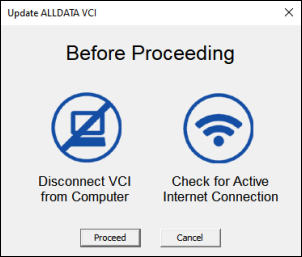
- Before Proceeding: Disconnect VCI from Computer.
- Power VCI Hardware and Connect to Computer USB:
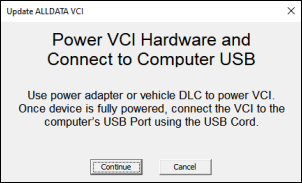
Power up the VCI using the provided power supply (Power (Red) and Ready (Blue) lights will remain lit).

On the opposite end of the VCI, use the provided USB cable to connect the VCI to the Windows PC.

Uploading Updates to VCI:
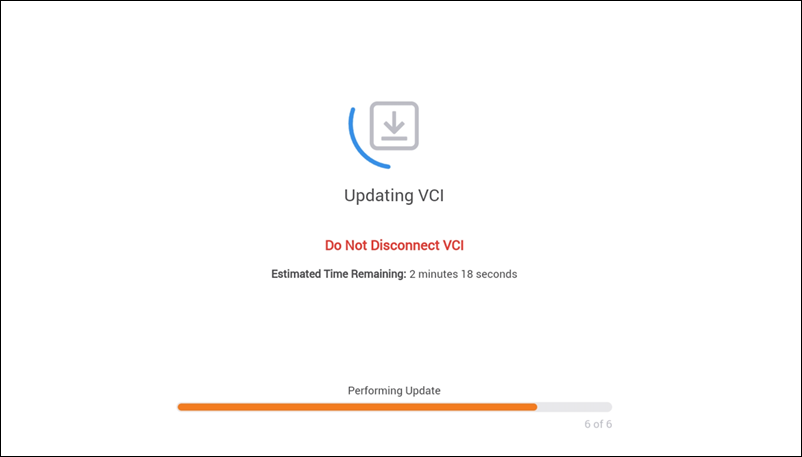
IMPORTANT - DO NOT disconnect the VCI during the installation process.
- Note: If the updater can't find the device, try reinstalling the VCI Device Driver.
- Hardware Update Agent / Firmware - If the VCI Update Manager or firmware installed on the VCI requires an update, it will be installed first.
- VCI Appliance Software - If the latest VCI software version is not detected, it will be installed.
- Before Proceeding: Disconnect VCI from Computer.
- The Connected (Orange) light on the VCI will illuminate and will remain lit for 1-2 minutes during the update process.
- The status message in the VCI Updater will change during the update process.
- Wait (about 2 minutes) until the Connected light on the VCI begins blinking and the status message reads “Please cycle the power on the hardware to reboot”.
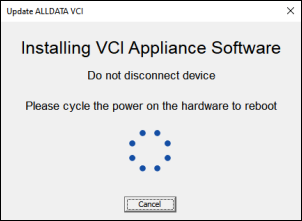
- Unplug the VCI from the power supply >> wait 5 seconds >> plug the VCI back into the power supply.
- Wait for the device to fully boot (Power (Red) and Ready (Blue) lights will remain lit).
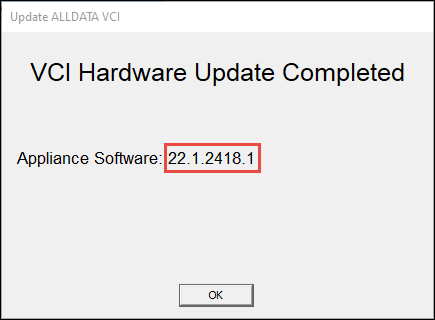
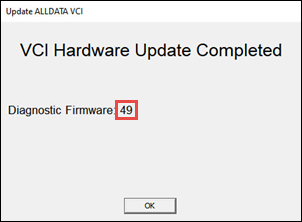
Verify that the Appliance Software or Diagnostic Firmware version matches the most recent VCI Update file:
- Appliance Software - 22.1.2418.1
- Diagnostics Firmware - 49
- Disconnect the VCI USB cable and power supply >> click OK to close the VCI Updater.