Recording a Partial Payment
Follow the directions below to get set up and start recording partial payments:
1. Setting a Pay Type
The Pay Type for the customer's assigned Account Type must be left blank or set to Pay Later.
To make changes to Pay Types:
- Click Setup.
- Click Codes.
- Click Account Types.
- Click the Pencil icon next to the Account Type that you want to change, or...
- Skip to step 5 If you want to create a new Account Type instead.
- Enter a value for Code.
- Enter a Description.
- Set Pay Type to Pay Later or leave it blank.
- Only these two Pay Types will allow partial payments.
- Select the appropriate Payment Methods.
- Click Update.
- Select a Cash Customer Account Type.
- Click Update.

2. Assigning an Account Type
An Account Type that has the Pay Type either left blank or set to Pay Later must be assigned to the customer's account.
To assign a Customer's Account Type:
- Click Setup.
- Click Customer.
- Find the customer listing that you want to modify.
- Select the appropriate Account Type from the Cust Type field.
- Click Update.

3. Recording a Partial Payment
- From the Work screen, click Invoice.
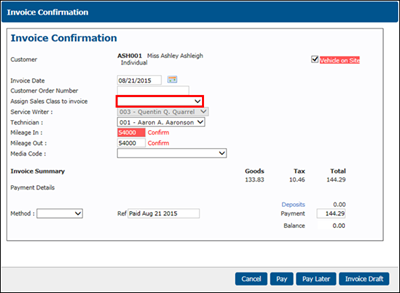
Click Pay later on the Invoice Confirmation screen.

IMPORTANT - Assign Sales Class to invoice drop-down box:
- It is best to leave this option blank so that each item on the invoice will default to the Default Sales Class Code that you have previously assigned to it.
- If you make a selection in this drop-down, it will assign the selected Sales Class to the ENTIRE invoice. This will create accounting problems if you export data to QuickBooks.

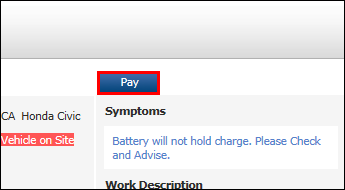
- A Pay option will now be available at the top right of the Work screen >> click Pay.

- Select the Payment Method >> enter the partial Payment Amount >> Verify the payment amount will been allocated to the invoice >> click Pay.

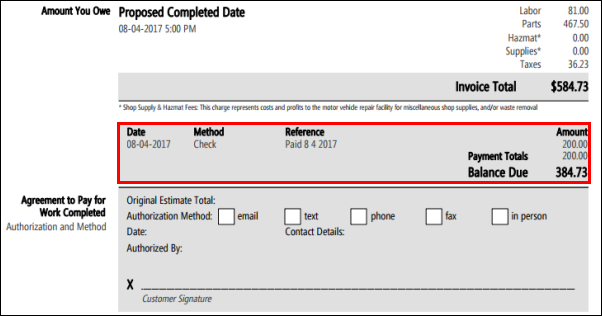
- This will record a partial payment to the customer's account that will appear on the Invoice along with the new Balance Due.
- On the Work screen, click Print to view the Invoice.


