Audatex Qapter Export
First Time Configuration
- Log in to Qapter Estimating with Admin rights
- Select Dashboards > Quick Start from the menu bar.
- Select the Express Setup link from the lower right corner of the screen. - or - Select Help > Express Setup.
- Select the Customize Workfile Settings link in the Customize Workfile Settings section. The File
Import screen opens. - Ensure the checkbox is checked to enable EMS file import, and then enter the path where the
EMS files are located. -or -Select the browse button on the right and navigate to the folder location. - Select the Delete Original Files From Disk After Import option, and then click Next. The File Export screen opens.
- Select the appropriate EMS export type from the Export Type droplist (e.g., CIECA 2.60).
- Enter the directory location where the files are to be exported (C:\REPAIR PLANNER). -or - Select the browse button on the right and navigate to the folder location.
- Notes:
- It is recommended to create a new REPAIR PLANNER export folder for more efficient file management. However, a different/existing export folder location can be used.
- See Getting Started for more information about creating a new REPAIR PLANNER export folder.
- Notes:
- Click Next and complete the remaining settings in the wizard.
Exporting EMS File Automatically
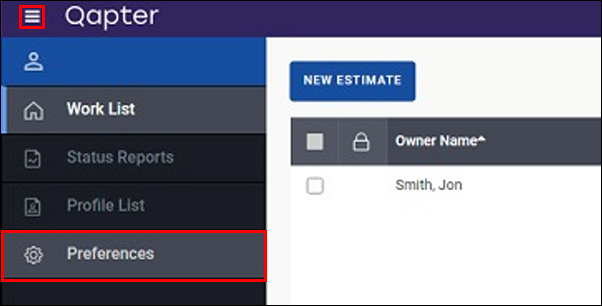
- Click the menu icon >> Preferences.

- Select File Manager >> Export >> Modify.

- Verify or update the export Path to C:\REPAIR PLANNER.
- Notes:
- It is recommended to create a new REPAIR PLANNER export folder for more efficient file management. However, a different/existing export folder location can be used.
- See Getting Started for more information about creating a new REPAIR PLANNER export folder.
- Notes:
- Select the options to Export on Close and Export on Exit.
Manual EMS Export
- Select the Job to export >> click Options >> Export.

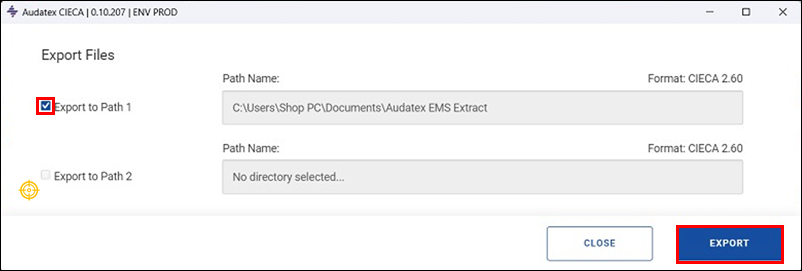
- Select a path >> click EXPORT.


