Importing Estimates
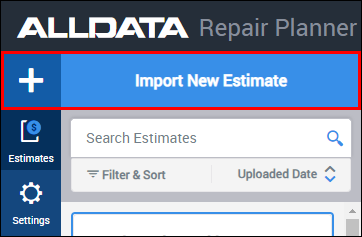
- Click + or Import New Estimate from the menu.
- Click Browse on the Import Estimate window.
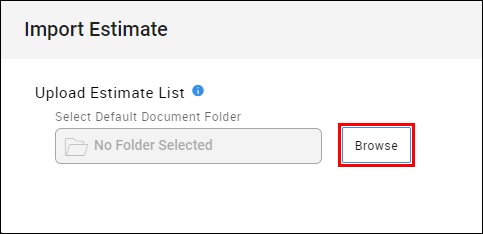
Locate the folder that holds the exported estimates from your Estimate Management System (C:\REPAIR PLANNER) then click Upload.
- Notes:
- It is recommended to create a new REPAIR PLANNER export folder for more efficient file management. However, a different/existing export folder location can be used.
- See Getting Started for more information about creating a new REPAIR PLANNER export folder and exporting from your EMS.

- Notes:
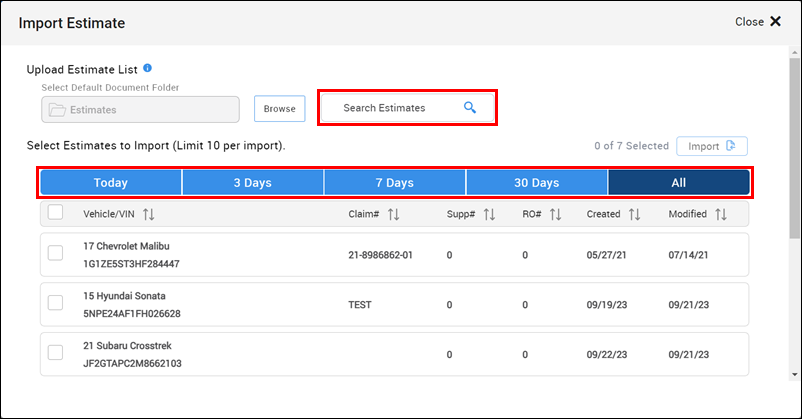
- Filter the estimate list by selecting a date range, or by using the Search Estimates box to search for Vehicle, VIN, Claim#, RO#, etc. (Optional)
- NOTE - If you are experiencing slow load times, it is likely because your folder contains a large number of estimates. You can prefilter your import list to show a smaller number of recently created estimates by default. See Settings >> Import Preferences.
- NOTE - If you are experiencing slow load times, it is likely because your folder contains a large number of estimates. You can prefilter your import list to show a smaller number of recently created estimates by default. See Settings >> Import Preferences.
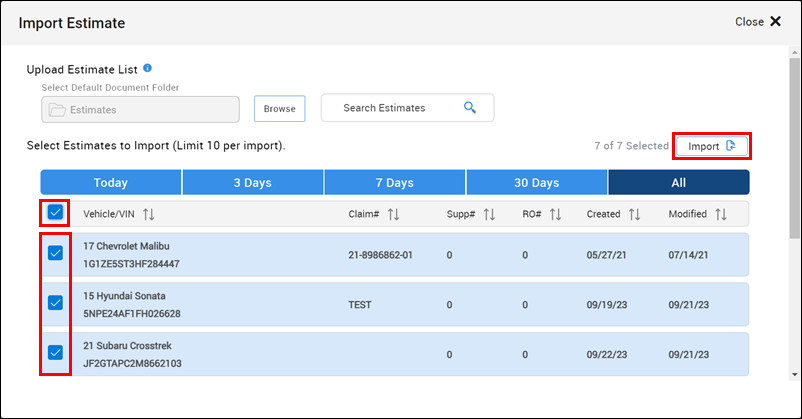
Choose which estimates to import and then click Import:
- Click checkboxes next to individual estimates
- Select all estimates by checking the topmost checkbox
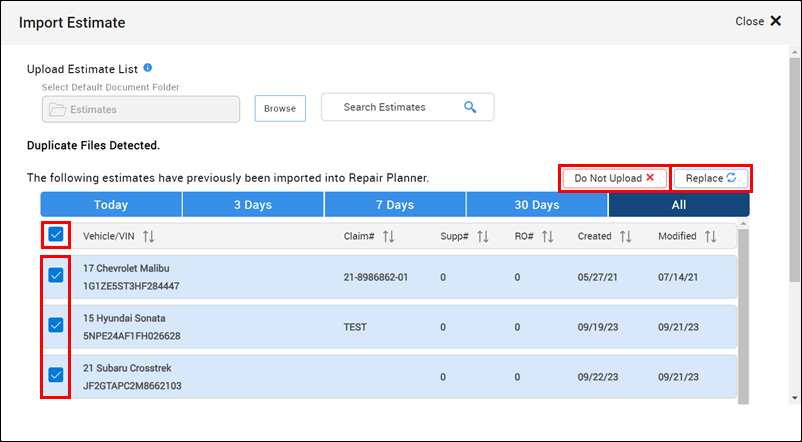
If any duplicates are detected, you can complete one of the following actions:
- Do Not Upload - Selecting this option will not import any of the detected duplicates
- Replace - Uncheck any estimates that you do not want to import. All selected invoices will replace the previously imported copy.
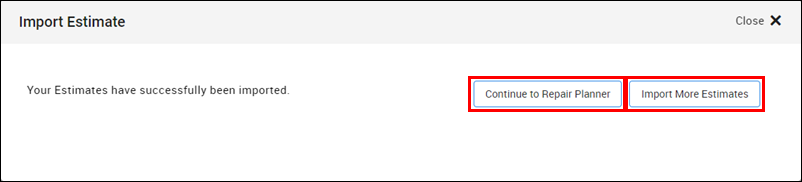
- Choose to Continue to Repair Planner or Import More Estimates.
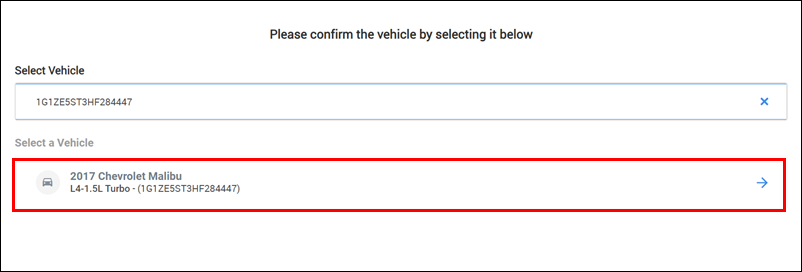
Note: Some imported estimates may not contain all the required vehicle information and will require you to confirm the vehicle selection.