Connecting to a Vehicle - Diagnostics
IMPORTANT:
- Before connecting for the first time, the ALLDATA VCI device must be paired. (Not required for iOS)
To pair the device, CLICK HERE.
iOS
The Bluetooth connection used by iOS devices does not require a separate pairing process. The device will pair seamlessly during the scanning process within the ALLDATA app.
Android
1
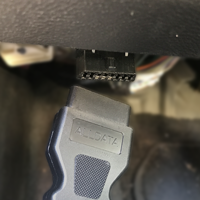
Plug the Diagnostics VCI in to the vehicle’s OBDII port. Wait until the Power and Ready lights are solid.
2

Swipe from the edge of your screen across the system status bar.
3

Press and hold the Bluetooth icon until the Bluetooth settings menu opens.
4
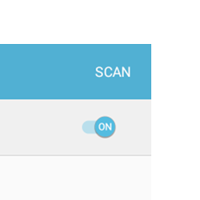
Verify that Bluetooth is ON >> tap SCAN.
5
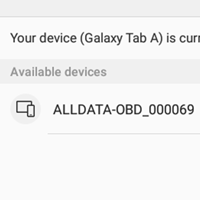
Tap the ALLDATA-OBD option.
6

Enter 1234 in the PIN field >> tap OK. The device should now be listed under Paired Devices.
Windows
1

Plug the Diagnostics VCI in to the vehicle’s OBDII port. Wait until the Power and Ready lights are solid.
2
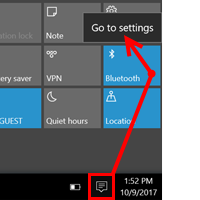
Open the Action Center >> tap and hold (or right click) Bluetooth >> tap Go to settings.
3

Verify that Bluetooth is switched On
4
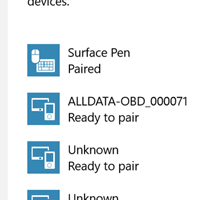
Wait a moment for the device to search for available Bluetooth connections and select the ALLDATA-OBD option when it appears.
5

Select Pair.
6

Enter 1234 in the Passcode field >> tap OK. The status will temporarily display as Connected.
7
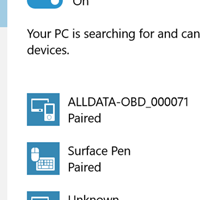
Wait until the ALLDATA-OBD status changes to Paired or Not Connected. Typically 5-15 seconds.
- Please disconnect any battery charging devices prior to connecting the scan tool to the OBDII port.
1

Plug the Diagnostics VCI in to the vehicle’s OBDII port. Wait until the Power and Ready lights are solid.
2

Turn the key to the On position or start the engine. Some vehicles require the engine to be running in order to connect.
3
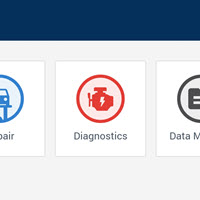
From the ALLDATA mobile app's Home screen, tap Diagnostics.
Note - Steps 4-10 may display if:
- The Manually Select Options When Scanning toggle has been activated
- The vehicle does not provide the necessary information to continue automatically
- Auto-select options were not enabled in the Settings menu
4
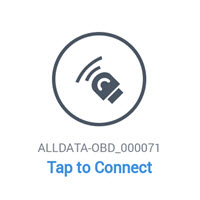
Tap the ALLDATA-OBD option.
5
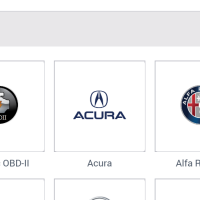
Select the make of the vehicle.
6
Tap Scan VIN >> Next. Vehicles that do not provide VIN data will require you to scan or manually enter the VIN.
7
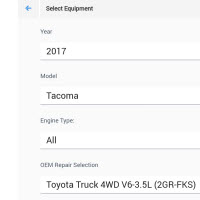
Verify all vehicle fields have been selected and are correct for that vehicle >> tap Apply.
8
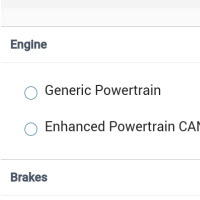
Select a vehicle system >> tap Apply. Some vehicle systems may not be available for direct connection. It is recommend to start DTC scanning by connecting to Enhanced Powertrain (or equivalent).
9
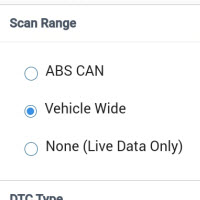
Select Scan Options: Range of systems to scan and DTC types (optional). Vehicle Wide scan is not available when connecting to Generic Powertrain.
10

Tap Apply to start scanning the vehicle. The Vehicle Data light will blink while data is being transmitted between the vehicle and the connection device.
11
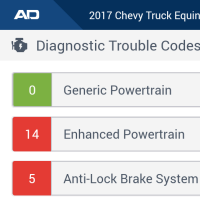
You are now connected to the vehicle and any available DTCs will be displayed. The Connected light will remain lit while the device is connected.


