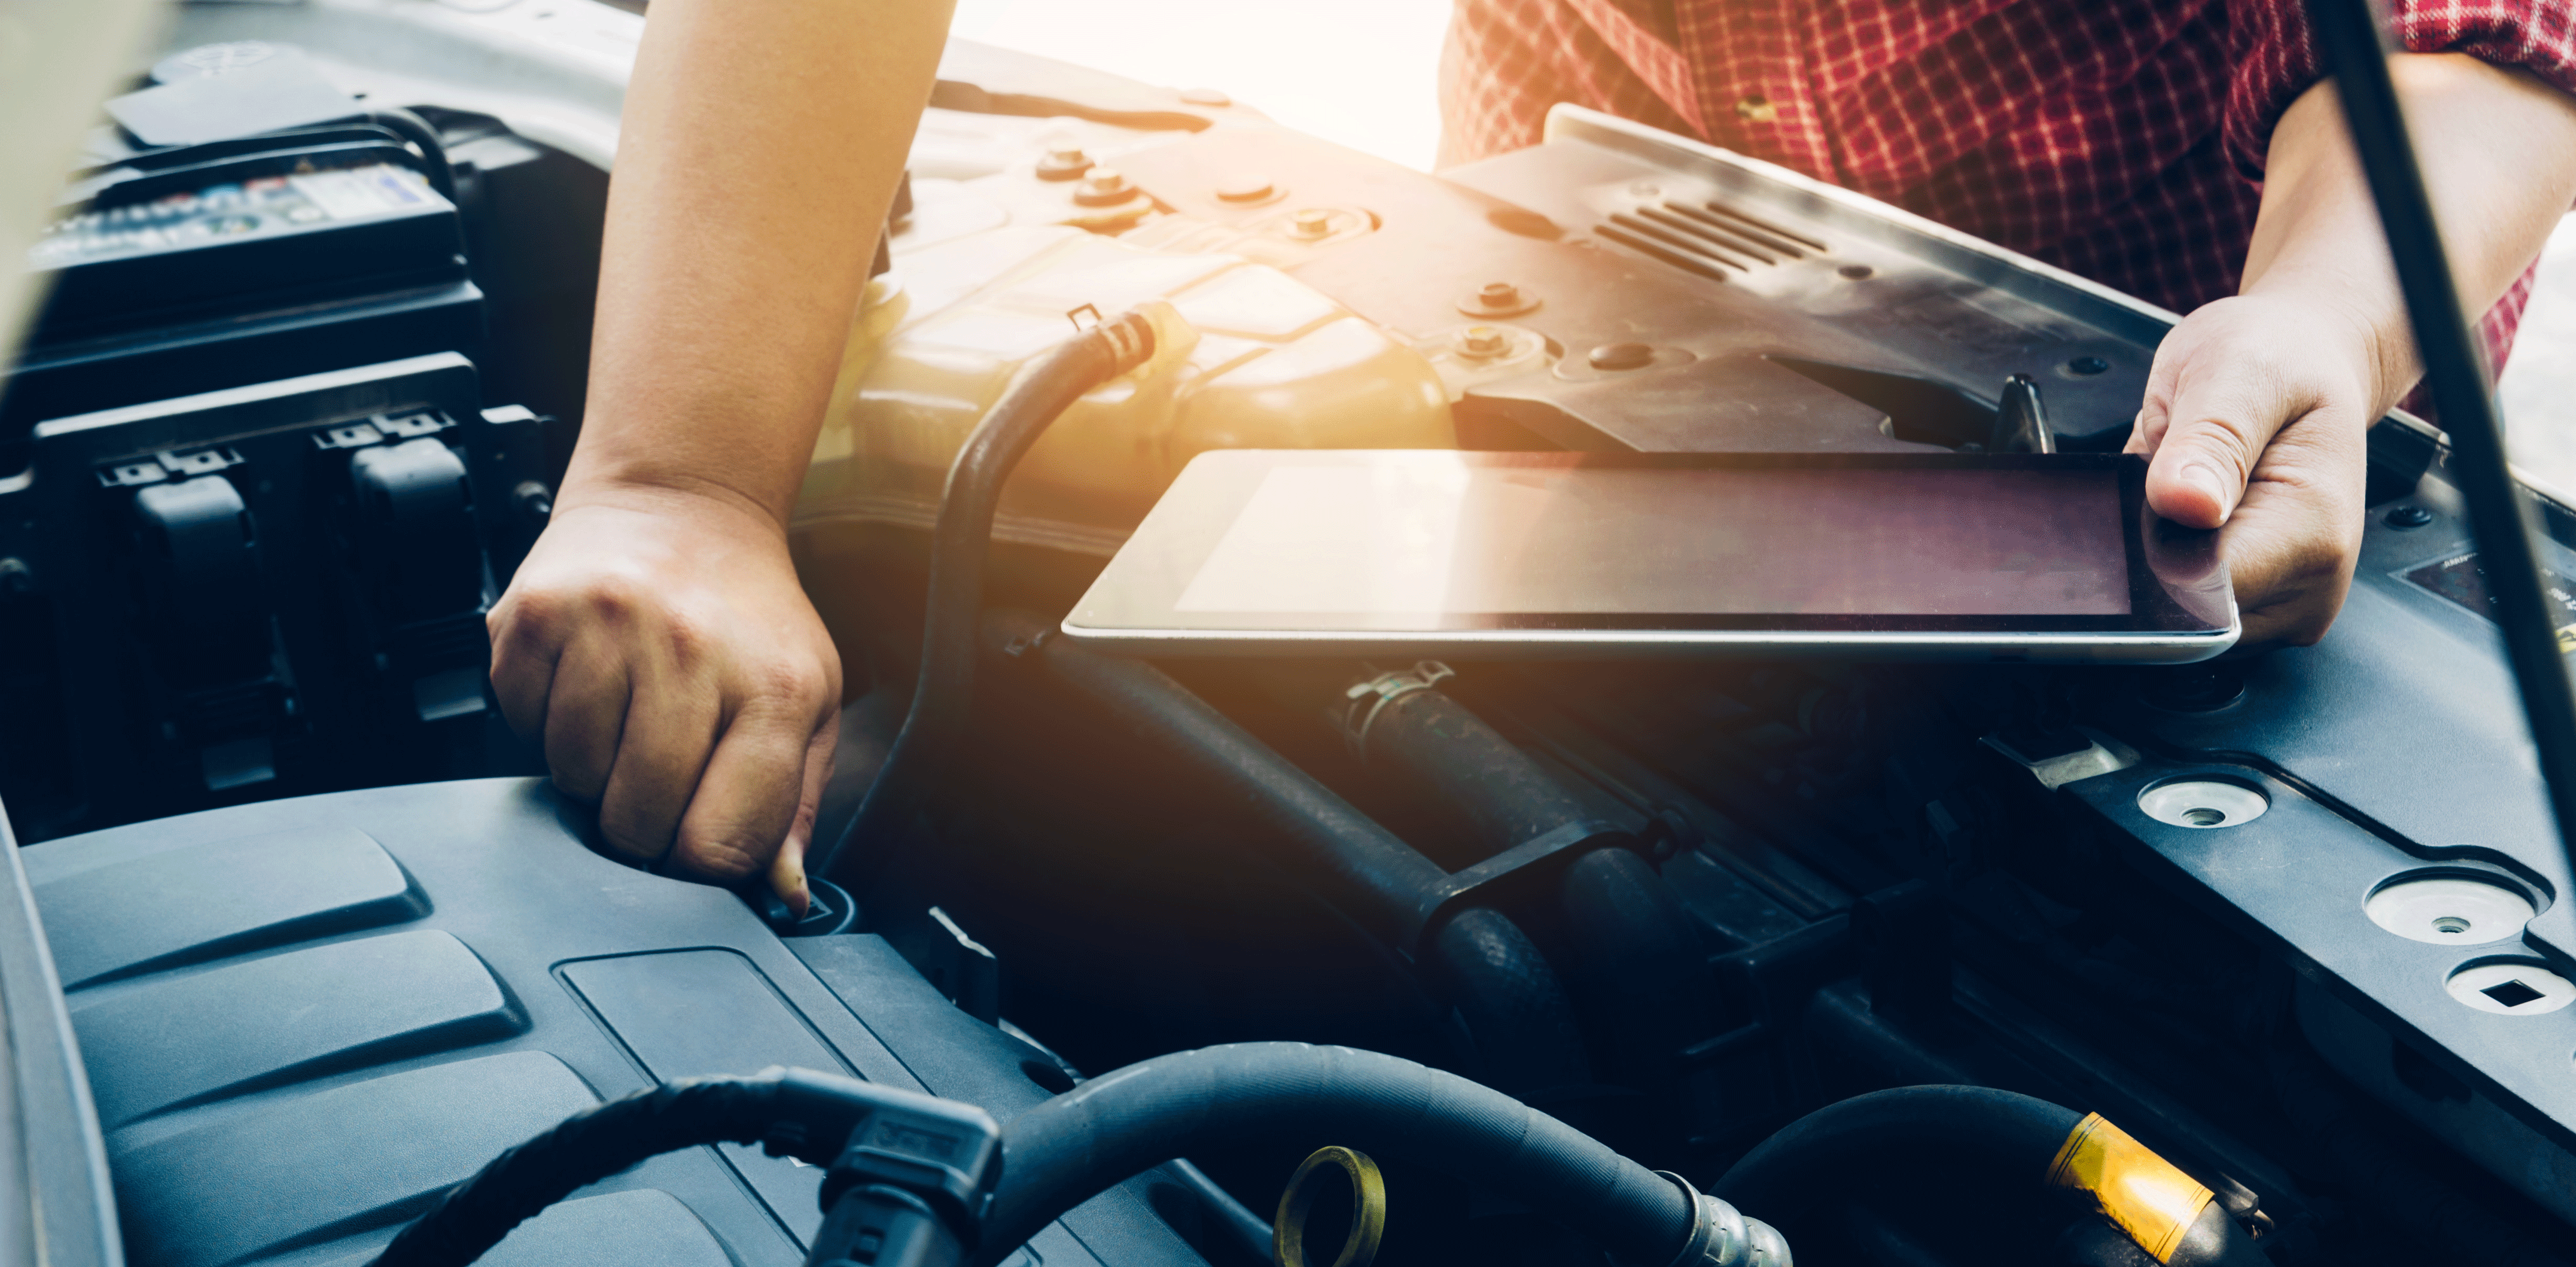

The average age of vehicles on U.S. roadways has recently risen to over 12 years, as soaring new car prices and improved quality sways owners into holding on to their cars longer. With their vehicles going out of warranty and vehicle service contracts expiring, more Americans have opted to tackle basic automotive maintenance and repair jobs themselves. But, before you roll up your sleeves to start your first DIY project, there are a few things you should know to help ensure your success.
Desire – The first and most important thing a DIYer needs is a willingness to work on their own vehicle. In the beginning, working on my first car was solely driven by necessity. Since I didn’t have the money to pay someone, my options were either to do the work myself or walk. But after a few successful repairs, I found that I actually enjoyed working on cars.
No matter what your motivation is, the time and effort you invest can pay big rewards, such as the satisfaction of knowing your vehicle is safe and running its best, enjoying a strong sense of accomplishment and saving a substantial amount money.
Be Prepared – Preparing for a job is best accomplished a few days before you start. Buy your parts in advance and research what tools you may need. It’s also beneficial to preview information about how the maintenance, diagnosis or repair procedures are done ahead of time. Finding this kind of information is easy using resources like ALLDATA DIY (ALLDATA DIY), AutoZone’s repair guides and video library (AutoZone Repair Guides & Videos), YouTube videos and automotive forums. Phoning a friend to ask for advice or a helping hand is also a great option.
Find a flat surface in an uncluttered area that has enough room for you to move around easily and operate a floor jack if necessary. Also, if you’re going to be working on a vehicle with rusted nuts and bolts, have a good rust penetrant handy. Automotive projects often take longer than anticipated…especially when dealing with rusted parts. Even the pros run into unexpected issues, so try to leave yourself enough time to complete the job before you absolutely need to use the vehicle.
Be Organized – Use small containers to group fasteners and small parts together. This will help you remember where they came from and saves time during reassembly. Clear plastic baggies work well and can easily be labeled with a marking pen. Take pictures of whatever you’re working on before taking it apart and take more pictures as you go through the disassembly process.
Buy the Right Parts – Always compare the new and old parts before installation. If possible, take the old part with you to the auto parts store and compare the parts at the counter before you leave. Auto parts can be sourced from independent auto parts stores, auto dealers and wrecking yards. You can also buy parts from an online parts source, but you won’t be able to compare the old part with the new one until it’s delivered, which may delay the repair.
And speaking of wrecking yard parts, if brand new isn’t necessary, wrecking yards are a great place to shop. Some yards will let you remove the part yourself, which gives you a chance to practice on another vehicle before making any mistakes on your own. And, as with most automotive repairs, the more times you do them, the more proficient you get.
Tools – The right tools make any job easier. If you’re just dipping your toe into the DIY auto repair pool, auto parts stores like AutoZone have great loan-a-tool programs (AutoZone Loan-a-tool program).
If you’re jumping headfirst into the deep end, consider buying a good set of basic hand tools, which can be purchased from most auto parts or home improvement stores. Here is a list of fundamental tools to get you started:
- Ratchet and socket sets – 3/8” drive and 1/2” drive
- Combination wrench set
- Allen and Torx wrenches
- Flat-blade and Phillips screwdriver set
- Needle nose, diagonal cutter, channel lock and standard pliers
- Floor jack and at least two jack stands
- Torque wrenches – 3/8” and 1/2” drive
- Ball-peen hammers – 8 ounce and 16 ounce
- Breaker bar – 1/2” drive
- Toolbox
You may also want to purchase these additional tools as the need arises:
- Scan tool or diagnostic trouble code reader
- Volt/ohm tester and test light
- Disc brake piston compressing tool
- Bearing puller/driver set
- Electric impact wrench – 1/2" drive
- Rubber Mallet
NOTE: Vehicles built in the U.S. will likely have both metric and SAE fasteners, so you’ll need both types when it comes to sockets and wrenches. Vehicles built outside the U.S. typically use only metric fasteners.
Build your confidence by starting with the easy jobs and then progress to more complex DIY projects. You’ll feel your confidence grow with each successful job you complete. Remember to check your work twice. Since building confidence comes from completing jobs the right way, you don’t want a loose oil drain plug or missing bolt to derail your progress.
Well, that’s about it. Remember, the best way to really get comfortable doing the work yourself is to start with an easy job and then work your way up to more complex repairs. You’ll be an expert DIYer in no time!
For more insight to how to successfully complete your next DIY project, check out our Top 20 DIY automotive projects article.
Not an ALLDATAdiy customer? Learn how a subscription could help you. ALLDATAdiy provides access to repair information on over 44,000 engine-specific vehicles, find yours. Return to see more DIY Helpful Tips.


