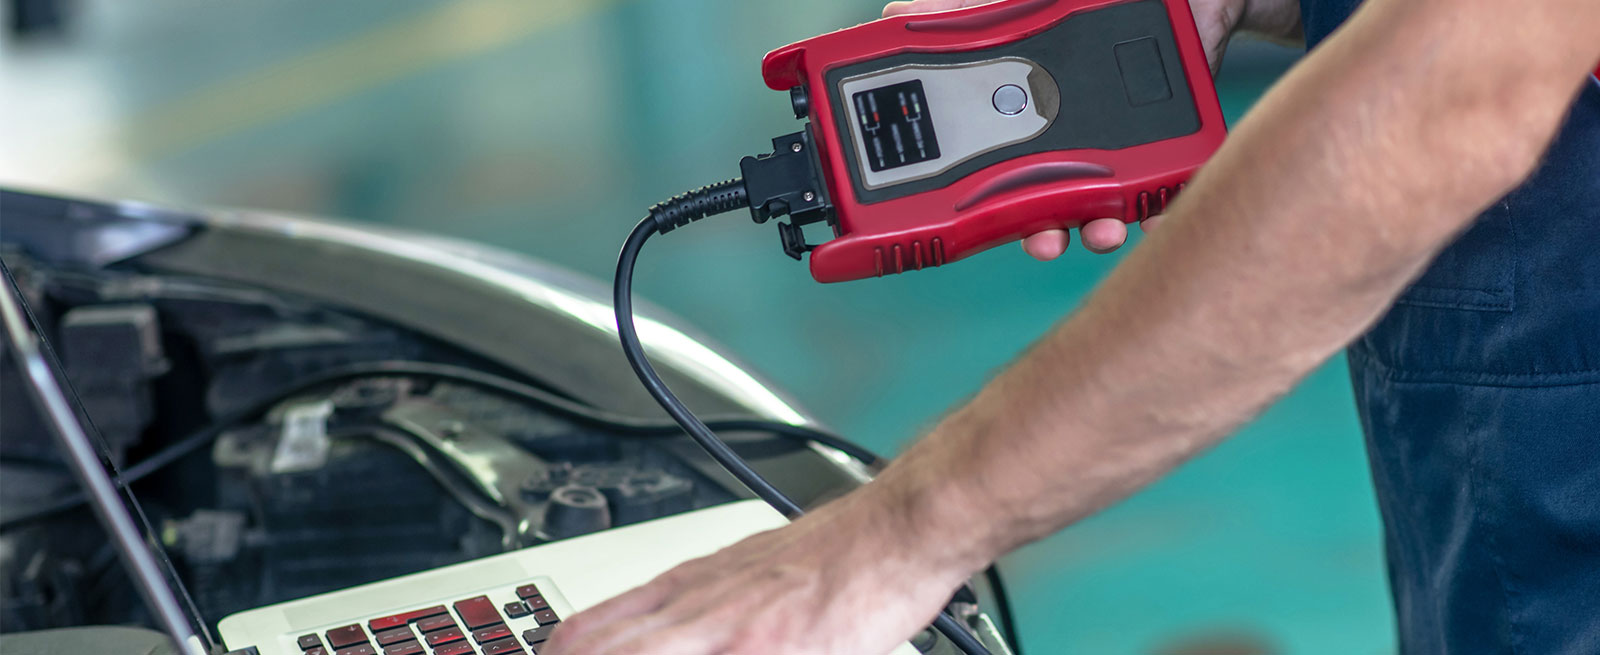

Like most electronic devices, scan tool technology is evolving at a rapid pace and the product options seem almost endless. So, how do you know which one is right for you? The answer depends on the features and functionality you want, your budget, and your eagerness to take your diagnostic skills to the next level. In this article, we will explore various kinds of scan tools, pricing and what to look for when choosing the right scan tool for your needs.
The scan tool pecking order starts at the top with the dealership-level scan tools, then professional grade scan tools, intermediate level scan tools, and finally, generic OBD-II code readers.
NOTE: In this article, we purposely omitted dealership scan tool information because they are extremely expensive and not really for DIY use.
Scan tool prices range from $20 - $35 for a simple code reader, $50 - $300 for an intermediate level scanner, $500 - $2,000 for professional scanners, and finally, $20,000 or more for dealership-level scanners, and that price doesn’t include subscription fees to access the manufacturer’s information and software.
Generic OBD-II Code Readers – For vehicle owners who want to perform basic functions, these devices are easy and convenient. They are capable of reading and displaying OBD-II SAE standard (generic) diagnostic trouble codes (DTCs), though usually not the manufacturer’s enhanced (vehicle specific) codes. They can clear DTCs and reset the malfunction indicator light (MIL), a.k.a. the check engine light (CEL). Many can also display SMOG/Emissions readiness status and indicate a DTC’s severity.
Intermediate Scan Tools – These scanners are perfect for DIYers who want more advanced functionality and are willing to learn the intricacies of their scanners. Typically, the more you spend in this category the more advanced the scan tool’s capabilities are. There are exceptions to this rule, so research a tool’s features and functions before you buy.
Intermediate scanners offer vital information that helps diagnose problems quickly. In addition to a code reader’s functions, intermediate scan tools can:
- Read generic OBD-II DTCs and most manufacturers’ enhanced DTCs.
NOTE: Intermediate scanners will typically only read generic OBD-II emission related DTCs on European makes, not the manufacturer’s DTCs.
- Display freeze frame data.
- Communicate with all modules (ABS and transmission modules for example).
- Display serial data, also called parameter identification data (PIDs) such as component voltages and sensor values.
- Include basic graphing for displaying waveform patterns.
- Save stored and pending DTCs.
- Display OBD-II system monitor status.
- Offer limited bi-directional commands (for safety reasons).
- Reset maintenance service lights.
- Professional Scan Tools – Along with doing everything intermediate scan tools can do, professional scanners are equipped with many more features and functions. Here are some of the most notable.
- Full bi-directional commands for items such as energizing relays and solenoids, operating pumps and motors or activating the brake system components.
- Perform system calibrations.
- Charging system testing.
- Run system self-tests such as system network scans.
- Update powertrain control modules (PCMs) or other onboard modules (a must-have for fixing many drivability and emission problems).
- Perform component relearn procedures.
- Superior graphing capabilities for displaying sensor waveforms.
- Perform DPF regeneration functions on diesel vehicles.
- Record, playback, save and transmit live serial data.
- Provide diagnostic guidance.
- Connect to the internet to access parts suppliers or service information.
For DIYers, professional scan tools are a big step up. They are much more expensive to purchase and own. For an additional cost, many professional scan tool suppliers offer yearly software and vehicle updates. Before you purchase one, be sure to check the update costs. They vary and may help you choose one scan tool over another.
Top 5 Scan Tool Features and Functions
The following features and functions are not essential, but they make diagnosing problems much easier for professional and DIY techs alike. Look for them when you are researching which new scan tool to buy.
- I/M Readiness Monitors – This feature is especially useful before going for a smog test. In California for example, a vehicle will not pass if more than one monitor is incomplete or in “Not ready” status. IMPORTANT NOTE: If you select “clear codes” (even if there are none) or disconnect the battery, all monitors will revert to “Not ready” status. Before getting your vehicle tested, check to see if all monitors are in “Ready” status. If not, you can operate the vehicle through different driving conditions to get all monitors to run. You’ll be able to see them switch to “Ready” on your scan tool while you’re driving.
- Bi-directional Controls – Quickly narrow down the root cause of vehicle issues by switching components on and off. This feature allows the operation of components through the vehicle’s computer, thereby evaluating the electrical wiring integrity between the computer and the component. You can also use this function to perform basic tests like checking fuel pressure without the hassle of connecting a fuel pressure gauge. You can command the fuel pump to run. The scan tool will indicate the pump is running. Then, just switch over to live data on the scan tool and read the fuel pressure.
- Live Serial Data Display – Observing the live data stream of multiple sensors in text or in graph mode helps to quickly identify bad sensor operation. A good example would be graphing the voltage change of 02 sensors. Say the MIL is on, and you find DTC P0171, System Too Lean (Bank 1). Using your scan tool in live data mode, you see that the Bank 1 O2 sensor voltage is not fluctuating between 0.5v and 0.850v like the other sensors. This indicates a bad O2 sensor and discounts the possibility of other issues like an intake manifold vacuum leak, a dirty injector or restricted fuel filter.
- Freeze Frame Data – Think of freeze frame data as a snapshot of exactly what was happening when the computer saw a problem and decided to create and save a DTC. It also allows you to duplicate the exact conditions the vehicle was under when the problem occurred, making it extremely valuable for determining the root cause of a problem.
- Data Recording – This function significantly reduces diagnostic time by allowing you to drive the vehicle to duplicate a problem without visually monitoring the scan tool. Once you’re safely parked, you can review the recorded data to see what was happening when the glitch occurred. For example, say you are chasing an intermittent rough running problem. You would drive the vehicle until the problem occurred and save the recorded data. A quick review of the data reveals that the mass airflow sensor voltage dropped below specifications at the same time the drivability problem was happening. Now you know exactly what component or circuit to focus on.
When diagnosing electrical or drivability problems, before you connect a scan tool, be sure to check the basics first. If you have an electrical problem, check the fuses and make sure the cables on the battery are clean and tight and that the ground connection is good. Does your engine crank over but not start? Begin by checking fuel pressure, ignition spark, and cylinder compression. These basic tests often get overlooked, even by professional technicians. Once the basics have been covered, then it’s time to break out your favorite new tool.
Want to know what the letters and numbers mean in diagnostic trouble codes? Check out this ALLDATA DIY article, DIYER’s Guide to On-Board Diagnostics.
Disclaimer: Because there are so many scanners on the market, the following scan tool capabilities and features are generalized and are not specific to any one brand.
Not an ALLDATAdiy customer? Learn how a subscription could help you. ALLDATAdiy provides access to repair information on over 44,000 engine-specific vehicles, find yours. Return to see more DIY Helpful Tips.


